Building a home is one of the most significant investments many people will make in their lifetime. It is a complex process that involves careful planning, skilled labor, and close attention to detail. If you’re wondering how it all works, this ultimate guide to home building walks you through every stage of the process – from clearing the land to move-in day. By understanding each step and what to expect, you can make informed decisions, reduce stress, and ensure your dream home becomes a reality.
Why Understanding the Home Building Process Matters
Before we dive into the stages, let’s answer the big question: Why is it so important to understand the steps involved in home construction?
The short answer is control. When you understand what goes into each phase of the building process, you’re better equipped to make informed choices, ask the right questions, and ensure your project stays on budget and schedule. Whether you’re working with a contractor, a builder, or managing parts of the project yourself, this knowledge builds confidence and trust.
Stage 1: Planning and Permits
Every successful home begins with a solid plan. This first stage includes design development, budgeting, choosing a contractor, and securing the necessary permits.
You’ll start by finalizing your home’s floor plan, selecting architectural features, and choosing materials. A reputable contractor or architect can help balance your wish list with your budget. This phase also includes:
- Zoning research to ensure the land is approved for residential construction.
- Obtaining permits from local authorities, which may cover building, plumbing, electrical, and more.
- Site assessments like soil testing and land surveys to confirm your lot is ready to support a foundation.
This is the time to ask questions, lock in your builder, and solidify all construction documentation.
Stage 2: Site Preparation and Earthwork
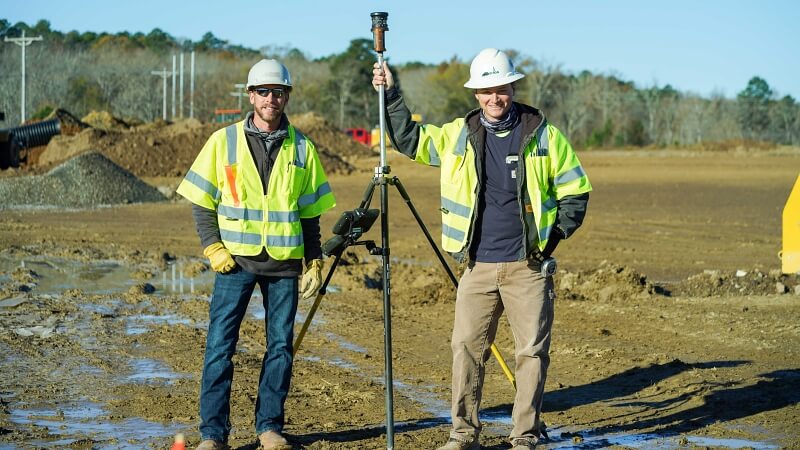
Once permits are in hand, construction begins with site preparation. This includes clearing vegetation, removing debris, and leveling the land for building.
The site is then marked for the home’s footprint. Earthwork is critical here – it ensures proper drainage and sets a stable foundation. This step may include:
- Excavating the foundation space
- Grading the lot to prevent water pooling
- Laying utilities such as water, sewer, and electrical lines underground
A strong, level foundation starts with professional-grade sitework and grading, especially on uneven terrain or clay-heavy soil.
Stage 3: Foundation Construction
The foundation provides the structural base for the entire home. Depending on your location and design, this may involve a slab, crawl space, or full basement.
The process typically includes:
- Pouring footings (reinforced concrete bases)
- Setting up rebar and formwork
- Pouring and curing the foundation slab or walls
After curing, the builder will conduct inspections to ensure the foundation meets code. Waterproofing and insulation may be added, especially in basements or moisture-prone areas.
Stage 4: Framing the Structure
Framing is often the most visually dramatic stage. This is when your home’s skeleton goes up, including:
- Floor joists
- Wall studs
- Roof trusses
- Windows and door openings
This phase outlines the home’s basic shape. Plywood or OSB sheathing is applied to the frame, followed by a weather-resistant barrier to protect the structure from rain and wind.
During framing, plumbers and electricians may begin rough-in work, running pipes and wiring through the walls and floors before insulation and drywall are installed.
Stage 5: Roofing, Siding, and Exterior Features
Once the frame is secure, the roofing and siding are added to seal the structure. These components provide protection from the elements and start to bring curb appeal to life.
Key installations include:
- Shingles or metal roofing
- Exterior doors and windows
- House wrap and siding (vinyl, brick, fiber cement, etc.)
- Gutters and downspouts
At this point, the house is considered “dried in,” which means it is protected from rain and weather and interior work can move forward.
Stage 6: Mechanical Systems and Insulation
With the structure sealed, it is time to install mechanical systems such as:
- HVAC (heating, ventilation, and air conditioning)
- Plumbing lines and sewer connections
- Electrical wiring and breaker panels
Once these systems are in place, inspections are conducted to ensure code compliance. Then, insulation is installed in walls, ceilings, and floors to help regulate indoor temperature and energy efficiency.
Stage 7: Drywall, Interior Finishes, and Trim
Drywall installation marks the beginning of the final transformation. Rooms are defined, and you’ll begin to see the interior take shape.
This phase includes:
- Hanging and finishing drywall
- Painting walls and ceilings
- Installing interior doors, trim, and baseboards
- Fitting staircases and cabinetry
It is also the stage when many of your style decisions come to life – paint colors, cabinet finishes, and built-in features start becoming a reality.
Stage 8: Flooring, Fixtures, and Appliances
Next, crews will install flooring materials such as hardwood, tile, or carpet. Then, fixtures are added, including:
- Kitchen and bathroom sinks
- Toilets and tubs
- Light fixtures, switches, and outlets
- Built-in appliances (ovens, dishwashers, etc.)
Finishing touches like hardware, mirrors, and closet shelving are also completed during this stage. Everything begins to feel like a livable home.
Stage 9: Final Inspections and Punch List
Before move-in, your home must pass a series of final inspections. These confirm all systems (plumbing, electrical, HVAC) are functioning safely and up to code. Once approved, a certificate of occupancy is issued.
Next, your builder will walk you through the property to create a punch list – a checklist of small adjustments or touch-ups needed before closing out the job. This may include paint corrections, door alignments, or final cleaning.
Stage 10: Move-In and Post-Construction
Once the punch list is complete and permits are finalized, it is time to move in. But your relationship with the builder doesn’t end here.
A good contractor will provide a warranty period, covering certain repairs or fixes within a designated time frame. Some builders also offer post-construction services like routine inspections or guidance on maintaining your systems over time.
Contact RedStone Construction Group Today
Home building can feel overwhelming – but with the right team and a clear understanding of each step, the process becomes far more manageable. By knowing what to expect at every stage, you can stay involved, stay on budget, and ensure your dream home meets your expectations.
At RedStone Construction Group, we bring decades of experience and trusted craftsmanship to every project. Based in Little Rock, Arkansas, and proudly serving the surrounding areas, we specialize in earthwork, concrete, underground utilities, erosion control, and more – everything needed to support your home built from the ground up. For professional guidance and construction services you can count on, contact us at (501) 374-1557 or email info@redstone-cg.com. Let’s build something lasting together.


